Node installation
Unlike other integrations in bindCommerce, the one with Facebook Catalog does not require the installation of a specific node.
Instead, the installation of a web server node is mandatory, to allow the correct management and flow of images related to the products. To learn more, it is necessary to go inside the tutorial Creating a Web Server node to publish images
Import links produced by the site
The product link must be present in the feed that will be sent by bindCommerce to Facebook containing the products and related information.
To do this, you need to go to the eCommerce section, select the type of eCommerce you are using (Woocommerce, Prestashop, Shopify, Magento, VirtueMart, OpenCart, Italiaonline) and go to the relevant Import Products section.
Here, click Add and fill in the fields:
-
Configuration Name: Choose a name for the configuration
-
eCommerce Platform: select the eCommerce platform concerned
-
Webserver for image storage: (completion of this field is required)
-
What kind of imports to perform?: select “Link to products”
-
From which language of the site to download: select the preferred language for publication (it is advisable to create a configuration for each language from which you want to import).
URL import connector from eCommerce
After creating the necessary configurations, you will need to create the connector that will physically download the product URLs from the eCommerce.
To do this, you need to go to
Process >> Connectors
Click on the Add button and fill in as follows
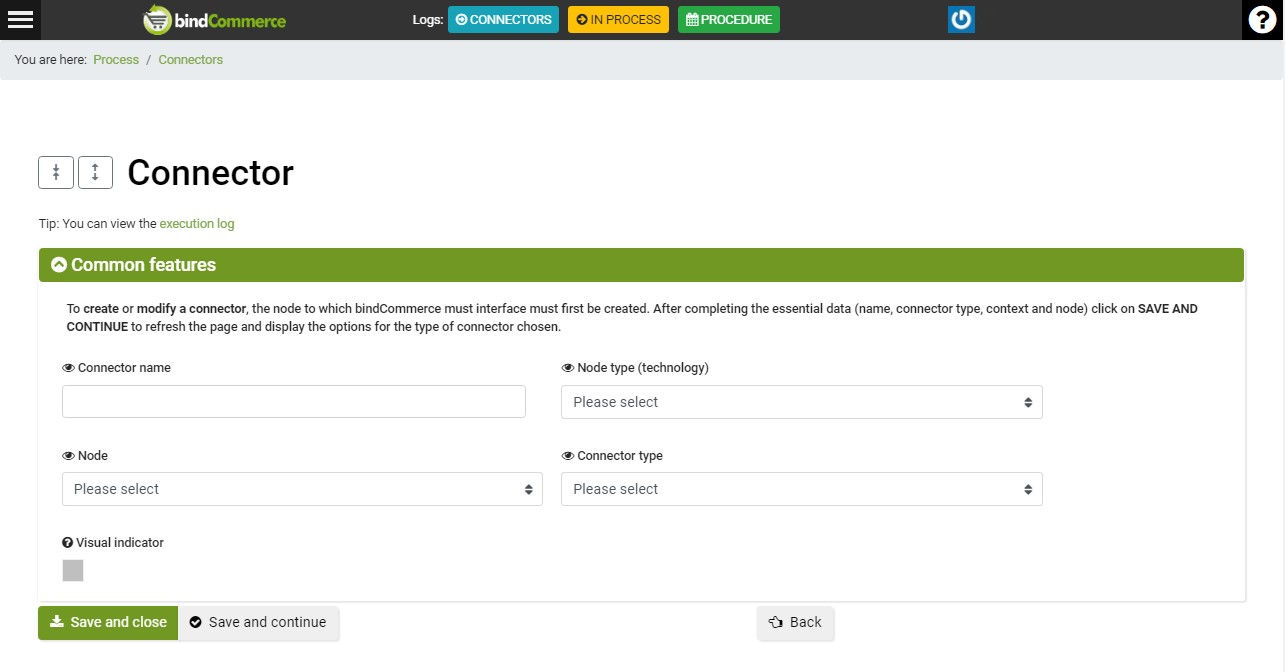
- Connector name: Enter a name that identifies the connector, for example: Import links produced by www.mywebsite.it
- Node type (technology): Insert an eCommerce technology
- Node: Enter the node relating to the eCommerce from which the links will be downloaded
- Connector type: Insert the technology Import products on bindCommerce.
Click on SAVE AND CONTINUE to view the additional fields to be filled in and fill in as follows
- Connector configuration: select the previously created configuration.
- Product filter: Optional. Set up a product filter if necessary. For more information see the tutorial Filter setting on products
- Run the connector immediately? Select YES or NO
Click on SAVE AND CLOSE
It will be possible to view the URLs downloaded in bindCommerce by going to the menu and then to
eCommerce >> Common configurations >> Product URL
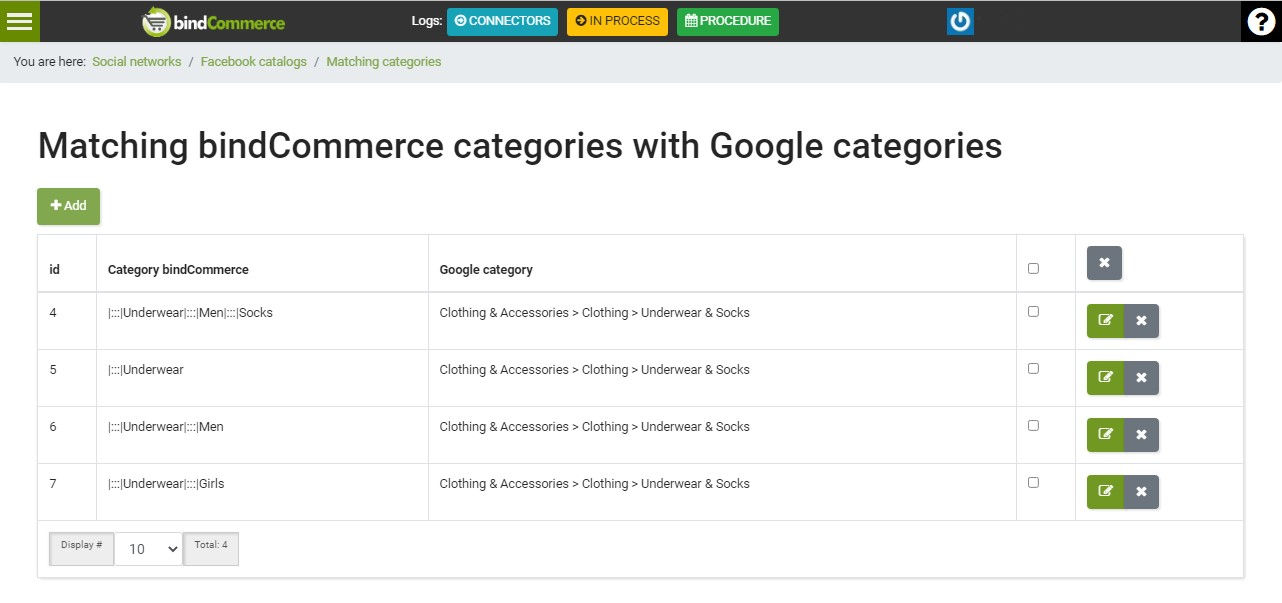
Match categories
To allow the correct correspondence of the categories between those present in bindCommerce and those accepted by Facebook Catalog, it is necessary to go to
Social network >> Facebook catalogues >> Matching categories
Feed configuration
In order to create a feed to be exported to the Facebook sales catalog, it is necessary to create the Export product feed configuration for Facebook. So go to
Social network >> Facebook catalogues >> Export product feed configuraion
click on the ADD button at the top right and complete the information as follows
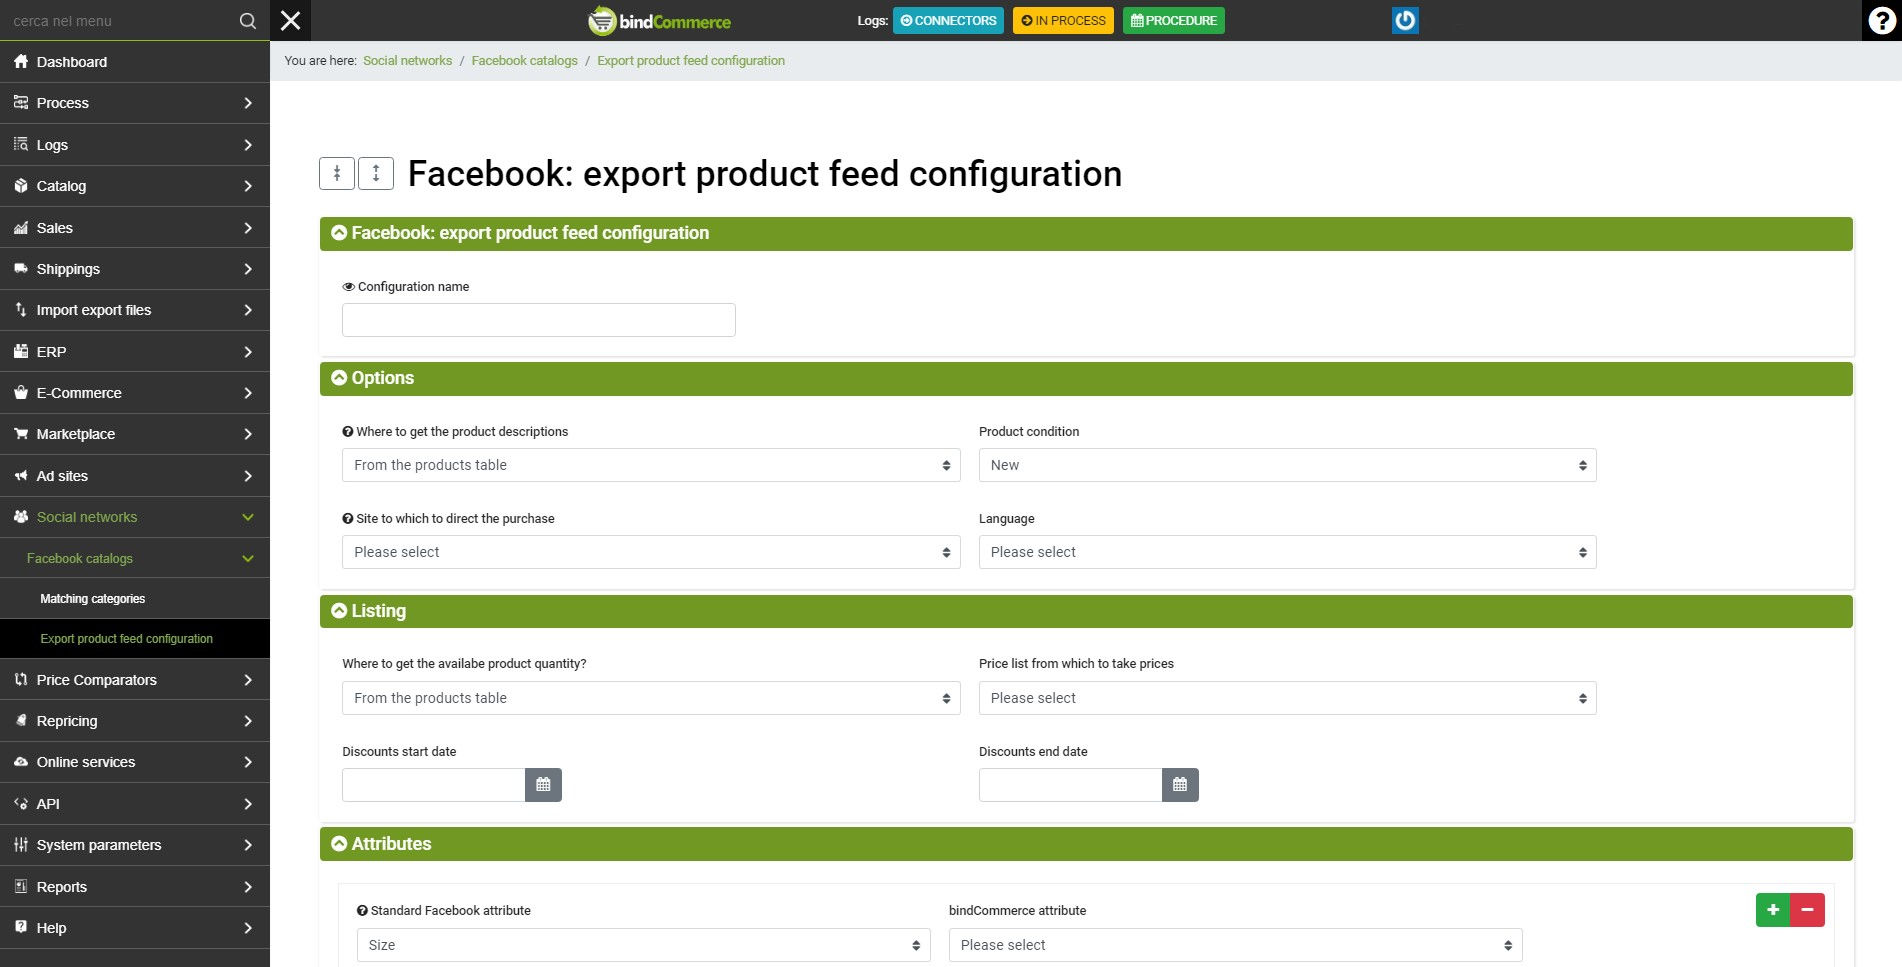
- Name: enter a name that can identify the configuration, eg: Summer season catalog.
Options section
- Where to get the product description: Select the field from which to get the product description.
- Product condition: Select whether they are new, refurbished or used items.
- Site to which to direct the purchase: Select the site on which to be directed to purchase.
- Language: Select the display language of the products.
Listings Section
- Where to get the available product quantity? Select the field from which to take the available quantity of products.
- Price list from which to take prices: Select the sales price list.
- Discounts start date: Select the start date of the discounts
- Discounts end date: Select the end date of the discounts Attention: Discounts will only be displayed if the discounted price is enabled within the selected price list. For more information, see the tutorial Price lists and prices
Attributes section
- Standard Fcebook Attribute: select the Facebook identification attribute.
- bindCommerce attribute: select the relative attribute present in bindCommerce.
- Do a scale conversion? Select YES or NO.
If there are more attributes, it will be necessary to click on the green + button and add the additional attributes.
Click on SAVE AND CLOSE.
Creation of a connector for exporting the feed
After creating the configuration for exporting the feed, you will need to add the relative connector.
To perform this action, you must go to
Process >> Connectors
and click on the ADD button at the top left and fill in as follows.
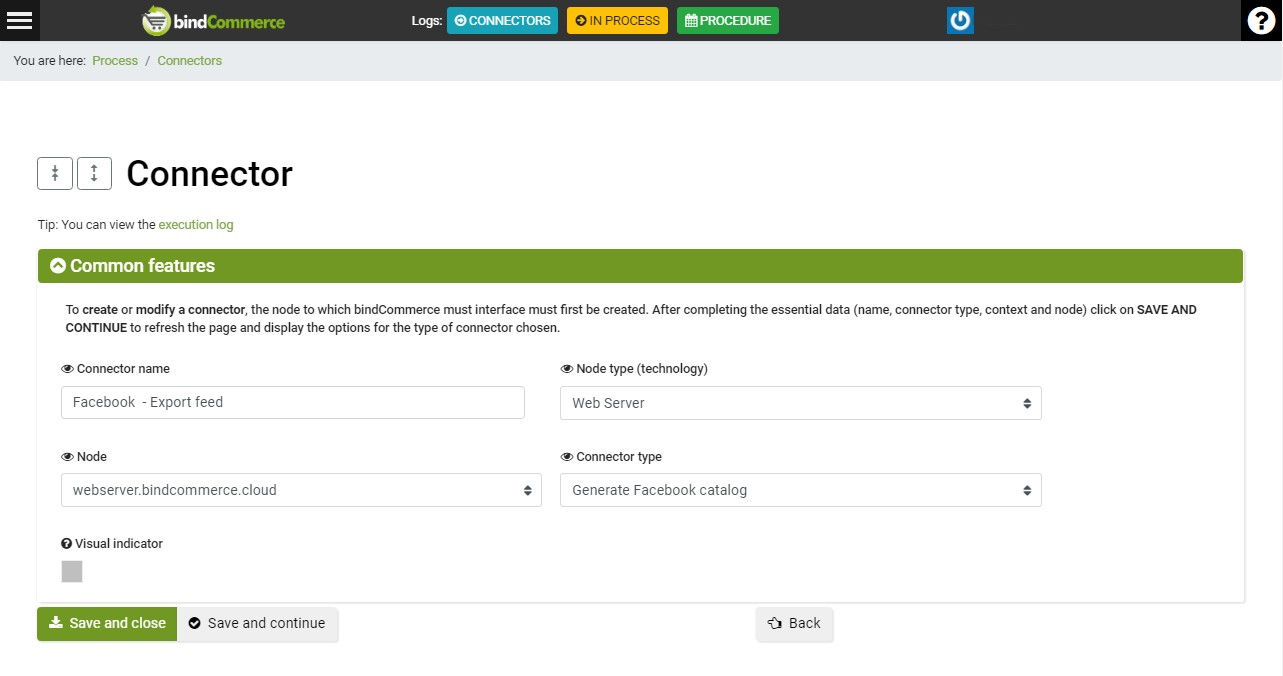
Connector name: enter a name that identifies the action of the connector
Node (technology): Web server
Node: Select the web server node where the feed will be stored
Connector type: Generate Facebook catalogue
Click on SAVE AND CONTINUE to view the additional fields to be valorised.
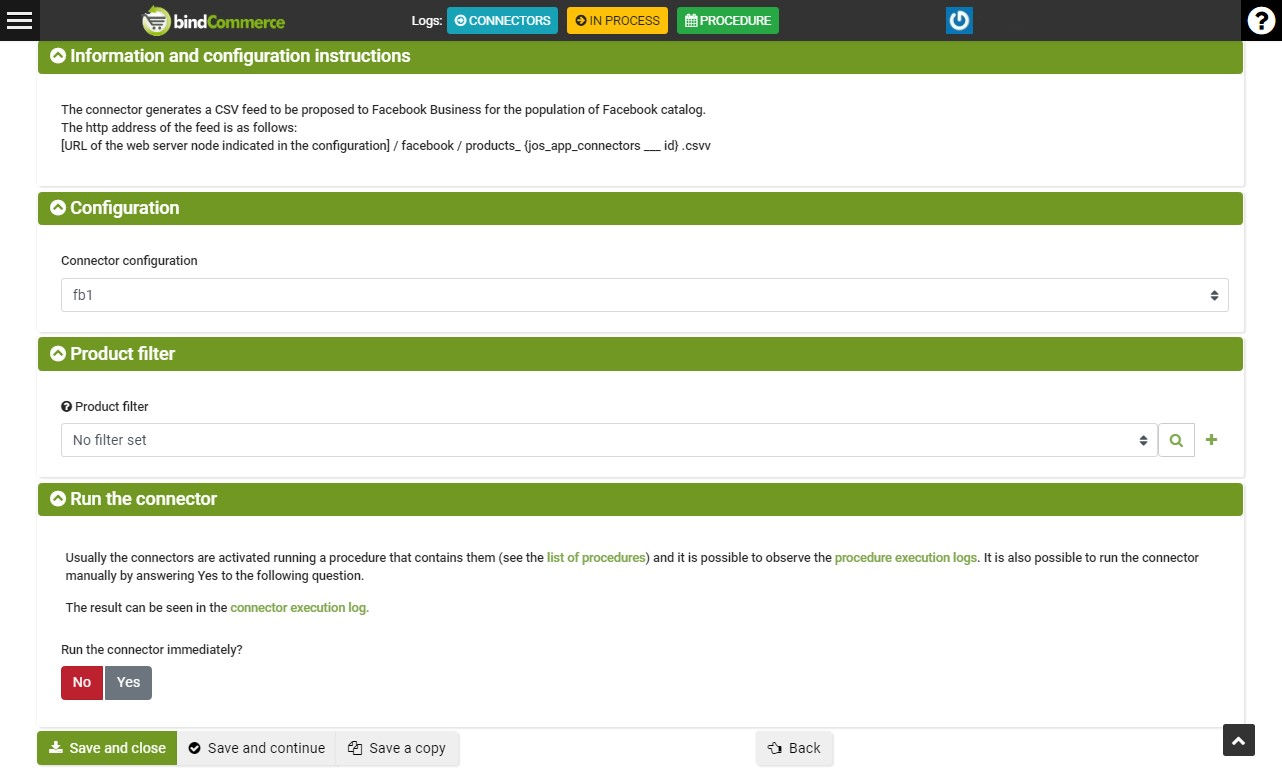
Connector configuration: select the previously created export feed configuration.
Product Filter: Select a product filter if needed.
Run the connector Immediately? Yes No.
You can view the generated file by going to the chosen web server, in the Facebook subfolder, or by entering the following URL in the browser
[URL of the web server node indicated in configuration]/facebook/products_1215.csv
Thank you for rating this article.