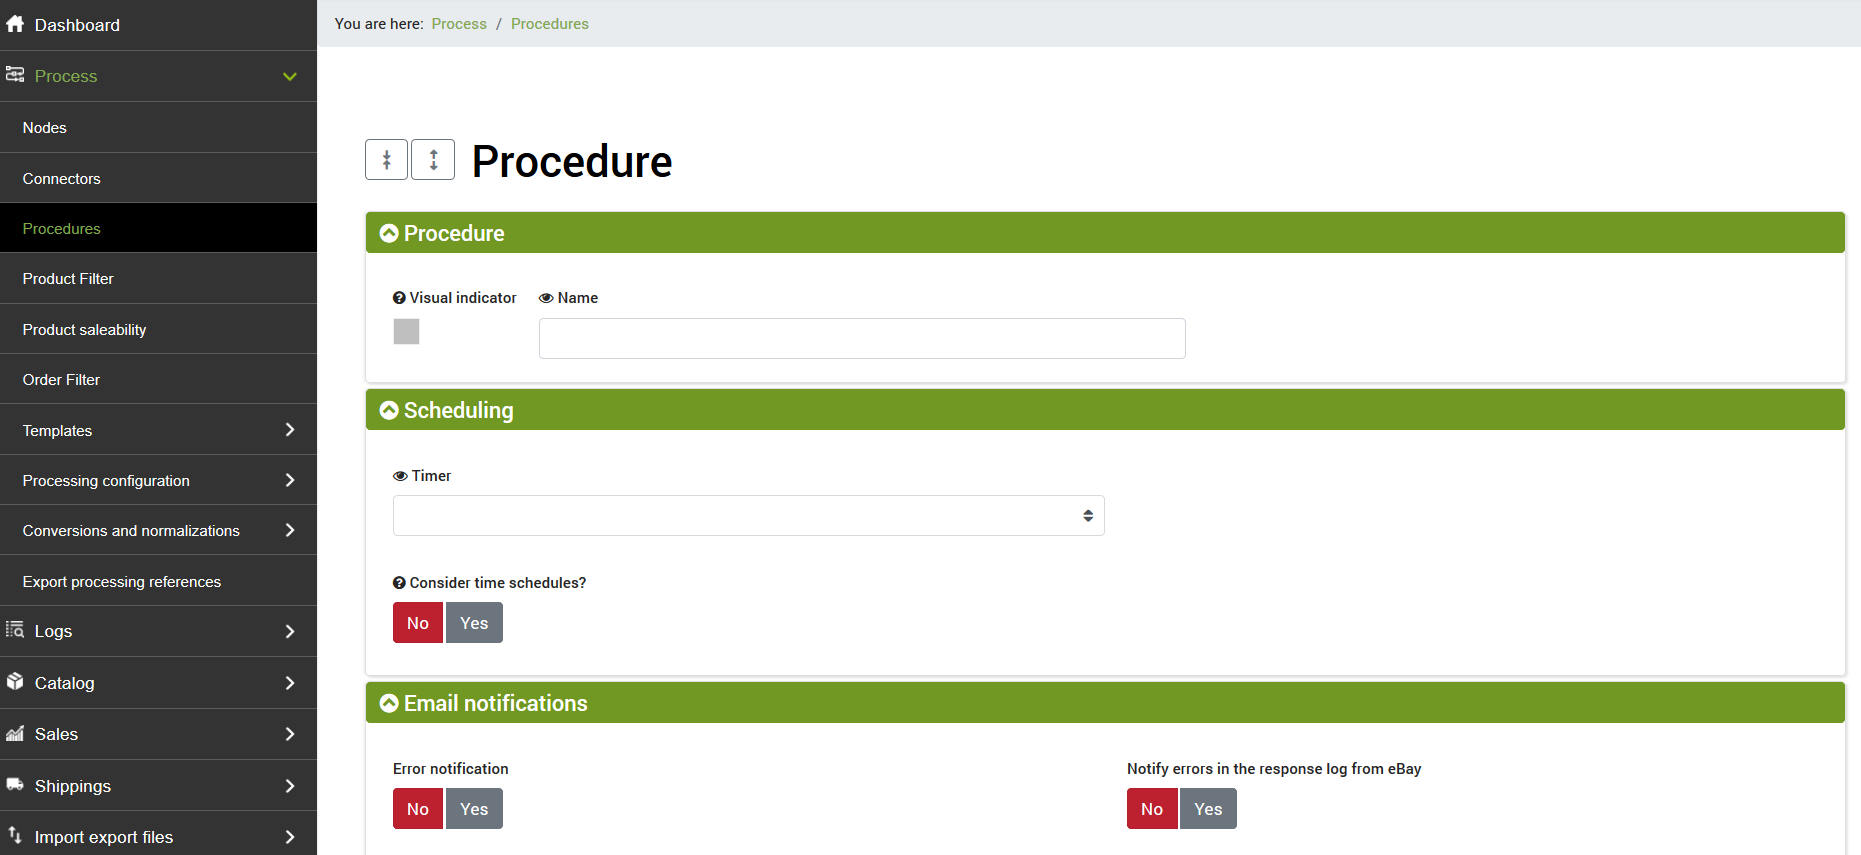
The procedures are used to automate the execution of the connectors. Each procedure performs a sequence of connectors, at specific times, in a predetermined order.
To create a procedure it is necessary to go to the menu
Process >> Procedures
click on the green Add button and fill in the fields:
- Name: an identifier that must not comply with any particular semantic rule
- Timer: the time interval between the executions of the procedure (for example 1 hour)
- Consider the time schedules: select Yes only if you have a set of time schedules already set

Each procedure also has a section dedicated to email notifications of errors, delays in execution, number of connectors executed and specific alerts for the logs of the connectors of some marketplaces.
How to set up a procedure
A procedure is able to activate several connectors in a predetermined sequence. It is fundamental to carefully consider the ordering of the various connectors inserted within a procedure, to allow it to function properly. After adding more connectors within the procedure, you can give it the sorting that is considered correct by simply dragging each row to the desired position. Just move the mouse over the row of the connector you want to move and click to drag it up or down to the correct position.
For example, it is possible to structure a procedure for downloading orders and updating stock in this way:
- Download orders from store A
- Download orders from store B
- Download orders from store C
- Download orders from store D
- Download orders from store E
- Update stock availability on shop A
- Update stock availability on shop B
- Update stock availability on shop C
- Update stock availability on shop D
- Update stock availability on shop E
To insert the previously created and configured connectors into the procedure, just click on Add in the column named Connectors. It is possible to monitor the execution by accessing the procedure execution logs from the button at the top in the center called Procedures or from the appropriate section of the menu (see Logs tutorial)
There is also the possibility of adding a time schedule to the procedure that allows you to decide when the procedure will be active and when it will stop working during the day or week.
To activate this function, first of all it is necessary to set the item "Consider the time schedules?" to Yes within the desired procedure. Returning to the list of procedures, a record will be added to the Schedules column (last column).
Clicking on Add will open the configuration for a new schedule, where it will be necessary to set the following data:
- the day of the week
- the start/end time of the schedule
- the start / end minutes of the schedule
- the mode: it is possible to indicate whether the procedure must be enabled or disabled in the set time range
-
- select "Activate" if you want this scheduling to allow the procedure to be activated at the moment (gg/h/m) previously configured.
- select "Disable" if you want an active scheduling to be deactivated in the moment (gg/h/m) previously configured.
The schedules must therefore be created in pairs: one that decides when the procedure must be activated (by setting it as "Activate" mode) and the other that decides when it must be deactivated (by setting it as "Disable" mode).
Example: It is assumed that a procedure should work every Monday from 9.00 to 19.00
2 different schedules will be created:
- Day: Monday, Hour: 9, Minutes: 00, Mode: Active.
- Day: Monday, Time: 19, Minutes: 00, Mode: Disable.


