Importing products from Ecwid By Lightspeed to bindCommerce allows you to import all product information such as title, description, images, categories and price from Ecwid into bindCommerce.
All selected elements will be registered in bindCommerce to perform internal processing or for management through management software or for re-publishing on other supported platforms: eBay, Amazon, personal e-commerce site and many others.
To import the product catalog from Ecwid by Lightspeed the following configurations are required on bindCommerce:
- App installation and connection
- Product import API configuration (to define which information to import for each product)
- Product import configuration (to select the import API configuration, time parameters and any product filters)
- Creation of connector to launch product import from Ecwid by Lightspeed
The product import API configuration is used to define which information to import for each product.
On your bindCommerce panel, follow the “API > Import products” menu and add a configuration.
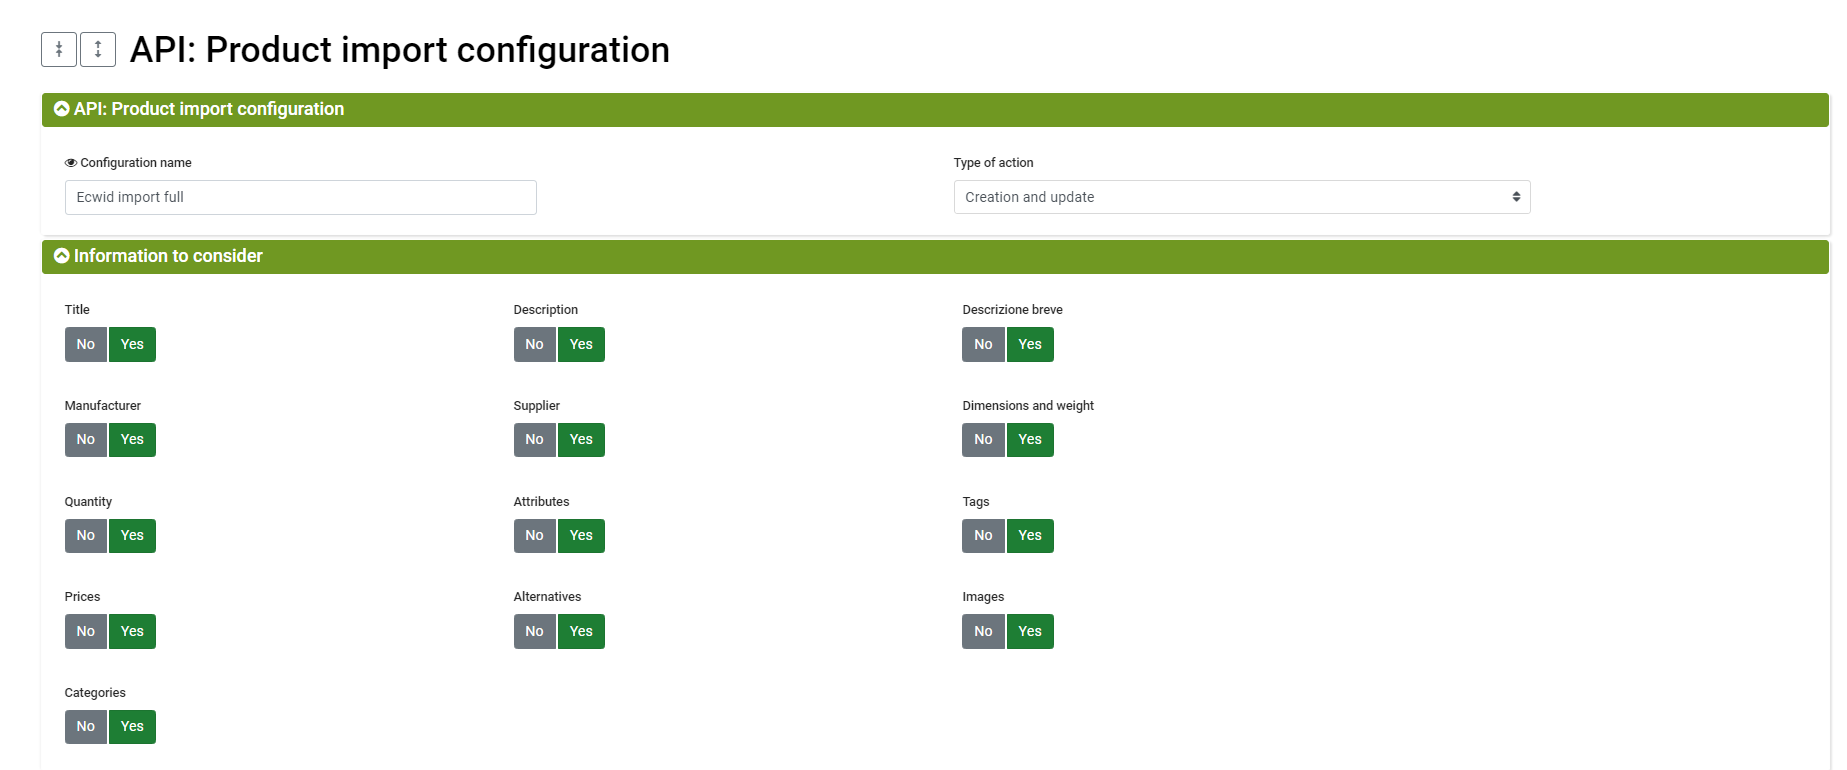
In the “Product import configuration” group:
- Configuration Name: Choose an explanatory name for the configuration
Action type: select whether you want to create products in bindCommerce, update existing ones or both actions
In the “Information to consider” group it is possible to choose, with a simple selection, which product information to import:
- Product information: the Art. Code code is always imported (being the primary identifier of the product, which takes on the name of SKU in bindCommerce). The fields managed by the integration are the following: title, UPC (barcode), product name, description, brand or manufacturer, quantity, dimensions and weight, tags
- Prices: it is possible to import the price of the product and any discounted price from Ecwid. The prices will be imported into the Public price list and further price lists can also be generated from it
- Attributes: the imported attributes can then be used to enrich descriptions or titles and can be selected to create filters on products
- Categories: the categories with their related trees are imported
In the "Images" group you can select whether to transfer them to the WebServer (if it is not already present you will have to create it following the instructions here) or copy the URL of the images from Ecwid.
In the "Alternatives" group, in the case of multilingual product descriptions, it is possible to assign to each language to be imported the alternative description in which it must be transferred. In order to select an Alternative, it must have already been created, following the instructions here.
To add associations, click on the green + button.
In the "Deletion of untransmitted data" group it is possible to select the information that must be deleted in bindCommerce if it is not received during the import (for example because it was deleted by Ecwid).
In the “General Options” group you can select options as follows:
- Calculate parent product quantity from sum of variants?: If Yes, bindCommerce will sum the available stock for each product option and apply it to the parent product
- Calculate parent's price from the minimum of the variants?: if Yes, the minimum price found from the product options will be applied to the parent product
- Skip products marked as deleted: If Yes, products in deleted state in bindCommerce will not be imported
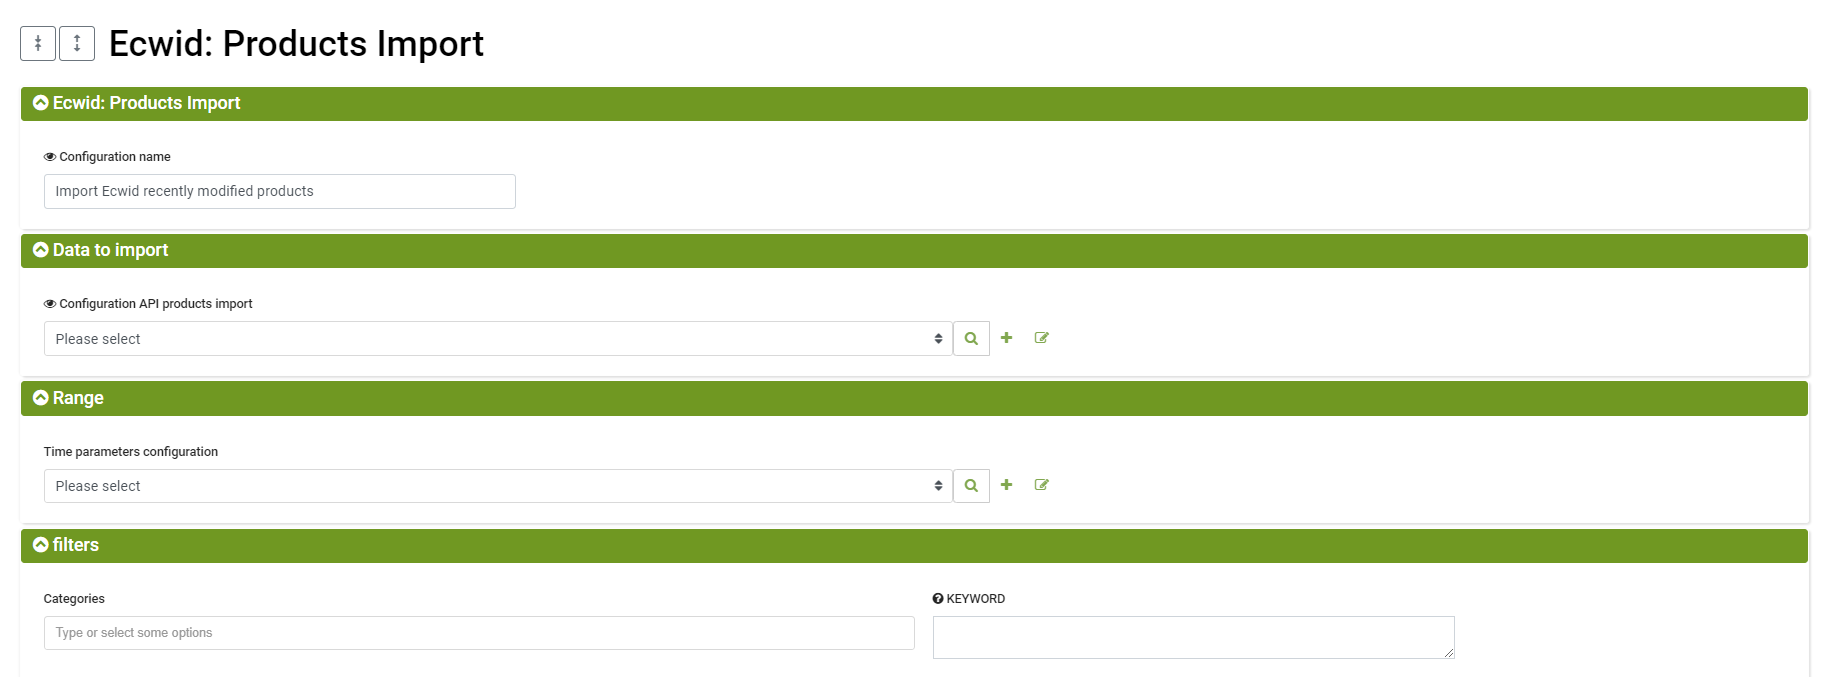
The product import configuration is used to define the products to import.
On your bindCommerce panel, follow the menu “eCommerce (source) > Ecwid by Lightspeed > Import products”, and then add a new configuration.
Give the new configuration a name. In the “Data to import” group, choose a previously created Product Import API Configuration, or create one on the spot by clicking +.
In the “Range” group, choose a previously created configuration or create one at the moment by clicking + and fill in the fields as follows:
- Configuration name: enter an explanatory name for the configuration
- Type: Select Products
- Filter by dates of: Select Created to import products based on their creation date on Ecwid or select Edit to import products based on their last modified date on Ecwid
- Make the request: select the date control criterion from:
- For the last days: indicate the number of days to be considered and any delay (in number of days) compared to the connector execution date
- For the last hours: indicate the number of hours to be considered and any delay (in number of hours) compared to the date of execution of the connector
- Range date: to indicate the start date and end date non-dynamically
Click Save and Close to finish the configuration and select it from the drop-down menu.
In the “Filters” group, optional fields allow you to limit the number of imported products based on the following criteria:
- Categories: Select specific categories to import or leave blank to not exclude any
- Keyword: search for an exact term, the search is extended to every field of the product (name, sku, description, etc.) adding * at the end disables the exact search. Don't use special characters.
- SKU code: indicate a specific product code (by filling in this field all other filters and time parameters will be ignored)
- Inventory: Select Available to import products with quantities greater than zero or Out of Stock for products with zero quantities
- Price from/Price to: fill in to import only products in a certain price range
- Ecwid Options: Indicate specific Ecwid options to import. Syntax example: &option_Size=S,M,L&option_Color=Red,Black
- Ecwid Attributes: Indicate specific Ecwid variants that will be imported as attributes into bindCommerce. Syntax example: &attribute_Brand=Apple&attribute_Capacity=32GB,64GB
- Active: Yes/No to import products in active or canceled status
- Featured front page: if selected, imports only the featured products or not
Click Save and Close to finish configuration.
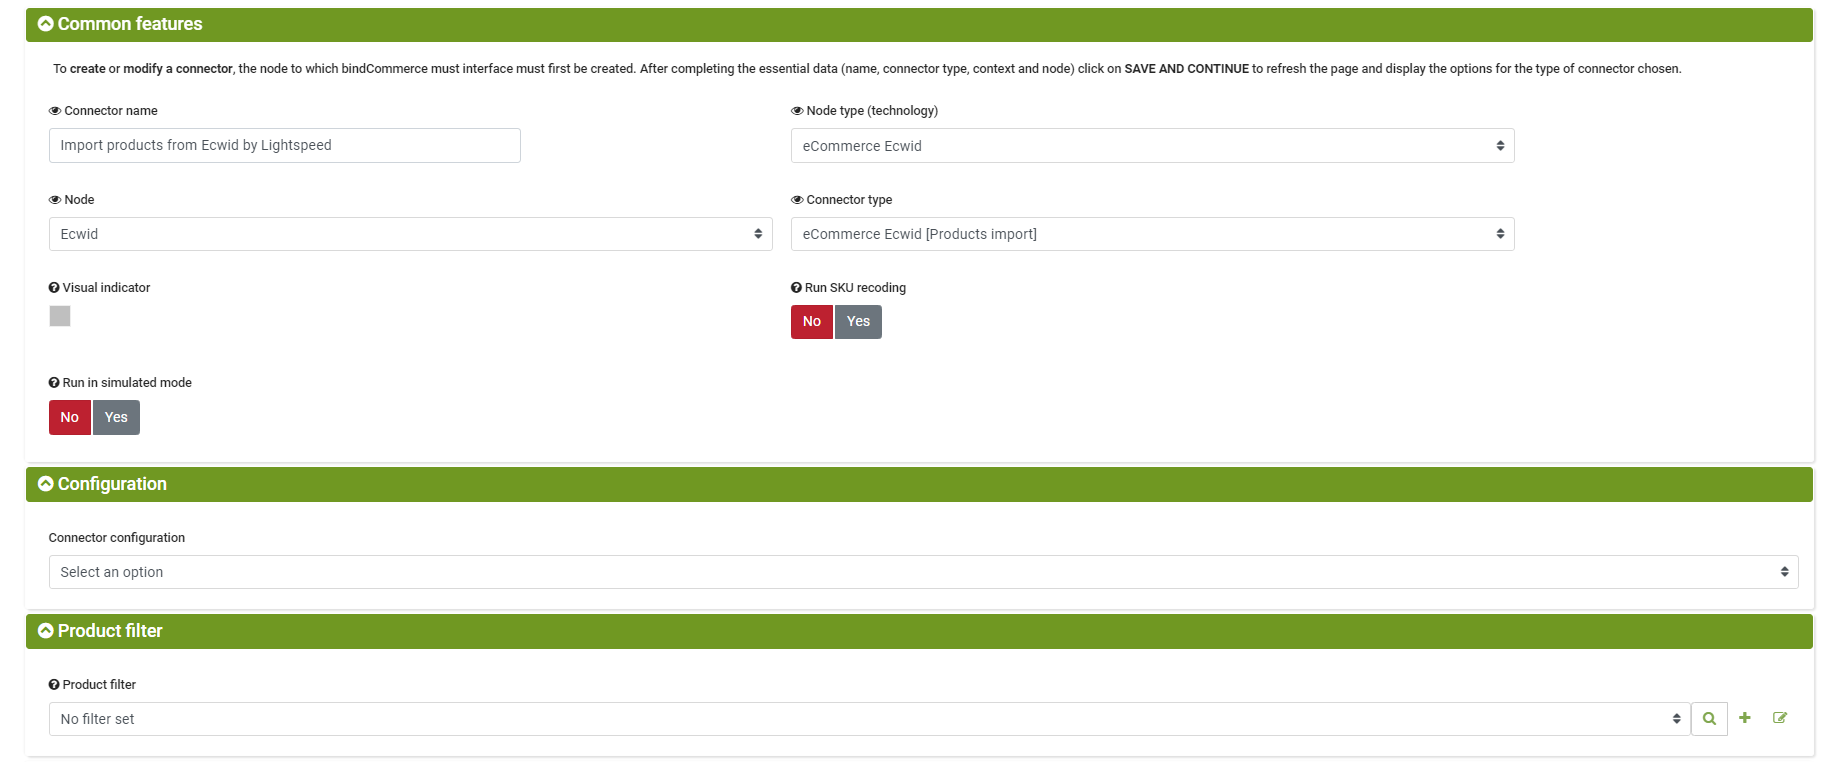
Finally, to create the import connector, you need to follow the “Processes > Connectors” menu, click on Add, and fill in the fields as follows:
- Connector name: for example “Import products from Ecwid by Lightspeed”
- Node Type (Technology): Ecwid eCommerce
- Node: Select the previously created node or create one by following the directions here
- Connector Type: Select Ecwid eCommerce [Product Import]
Click Save and Continue to continue the configuration.
- Connector configuration: select the previously created product import configuration
- Product filter: optionally select a filter on products already present in bindCommerce
Click Save and Close to finish configuring the connector.
The connector thus configured can be executed (in jargon, launched) manually, from the list of connectors by clicking on the play button, or inserted into a procedure for automatic and scheduled execution.
Thank you for rating this article.